Both options fit small homes, but they feel very different in use. Bands win on portability; dumbbells win on measurable loading and familiar movement patterns.
Storage and setup
Bands disappear into a drawer and travel easily. Dumbbells need a dedicated floor spot but require less anchoring and setup between exercises.
Comparison table
| Product | Price | Best For | Apartment Advantage | Key Tradeoff |
|---|---|---|---|---|
| Bodylastics Resistance Band Set | $40–$70 | Tiny storage footprint | Stackable resistance | Door anchor needs care |
Details above are editorial summaries and approximate street prices at the time of writing — confirm specifics on each current listing.
Progression
Dumbbell numbers make progress simple to track. Bands change resistance through the range of motion, so progression depends on band tension, grip, and positioning.
The practical answer
If budget and storage are extremely tight, begin with bands. If consistent strength progress is the priority, adjustable dumbbells make a stronger long-term foundation.
Compare them movement by movement
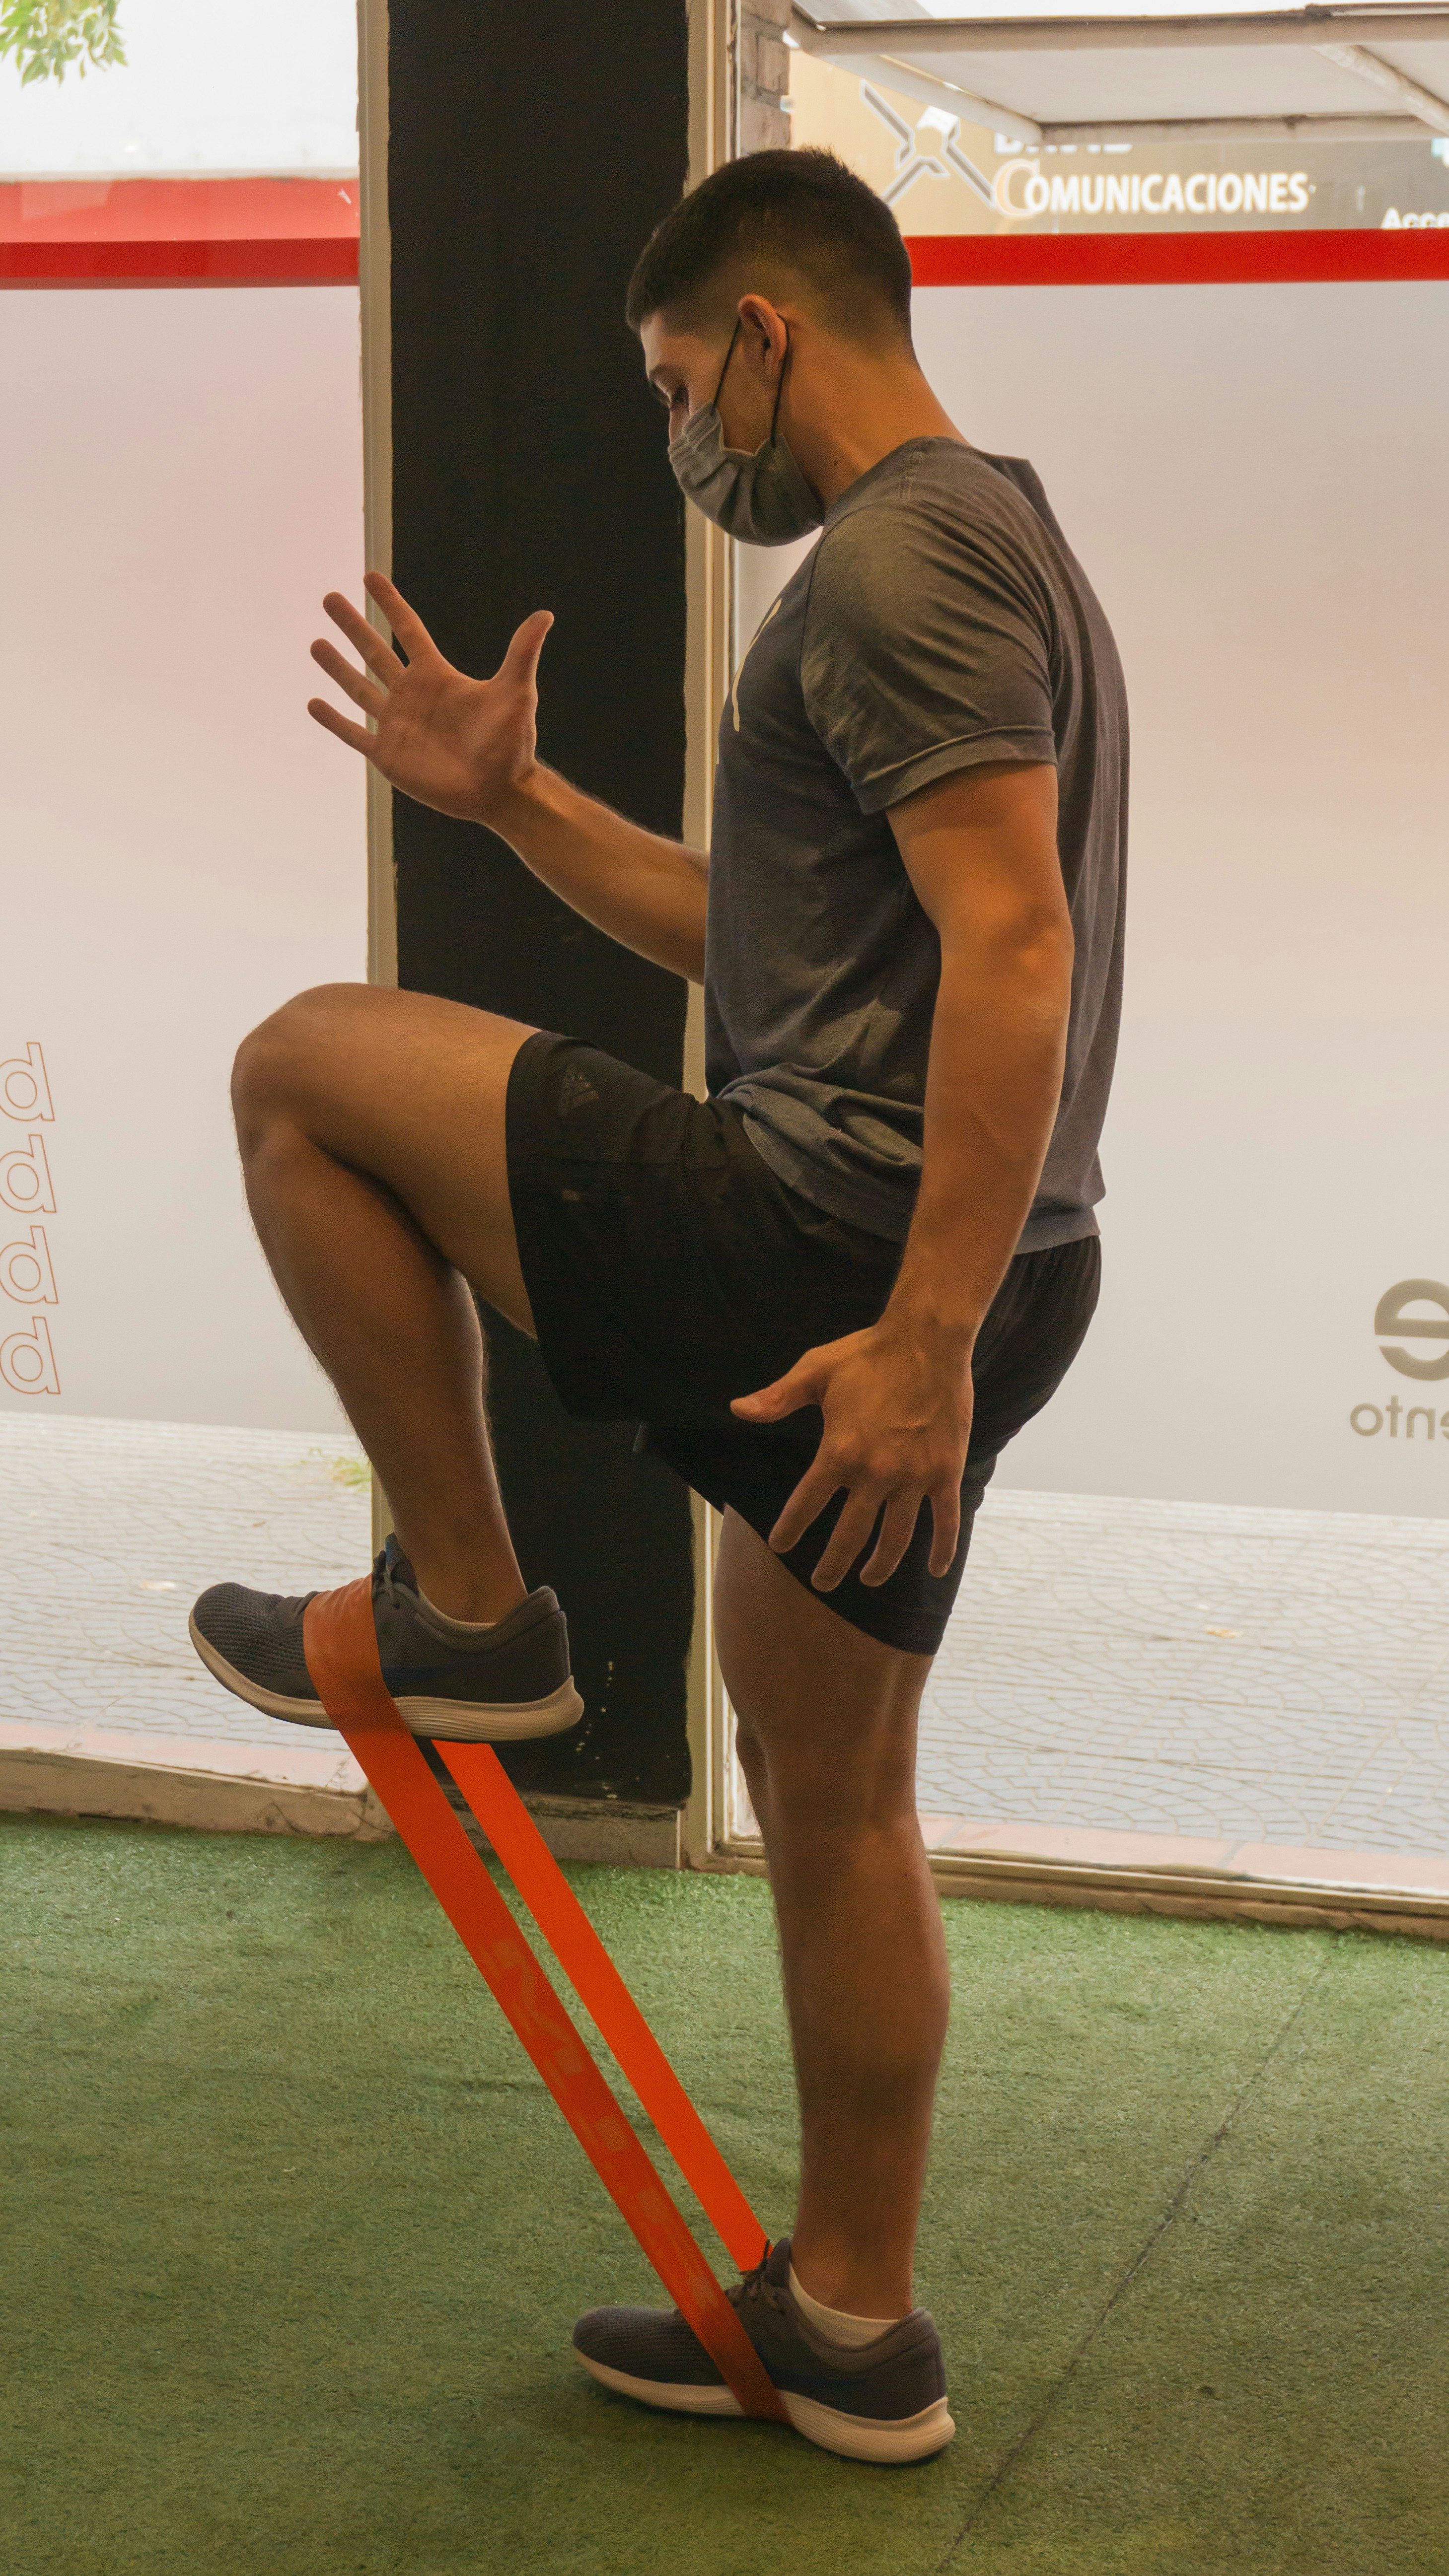
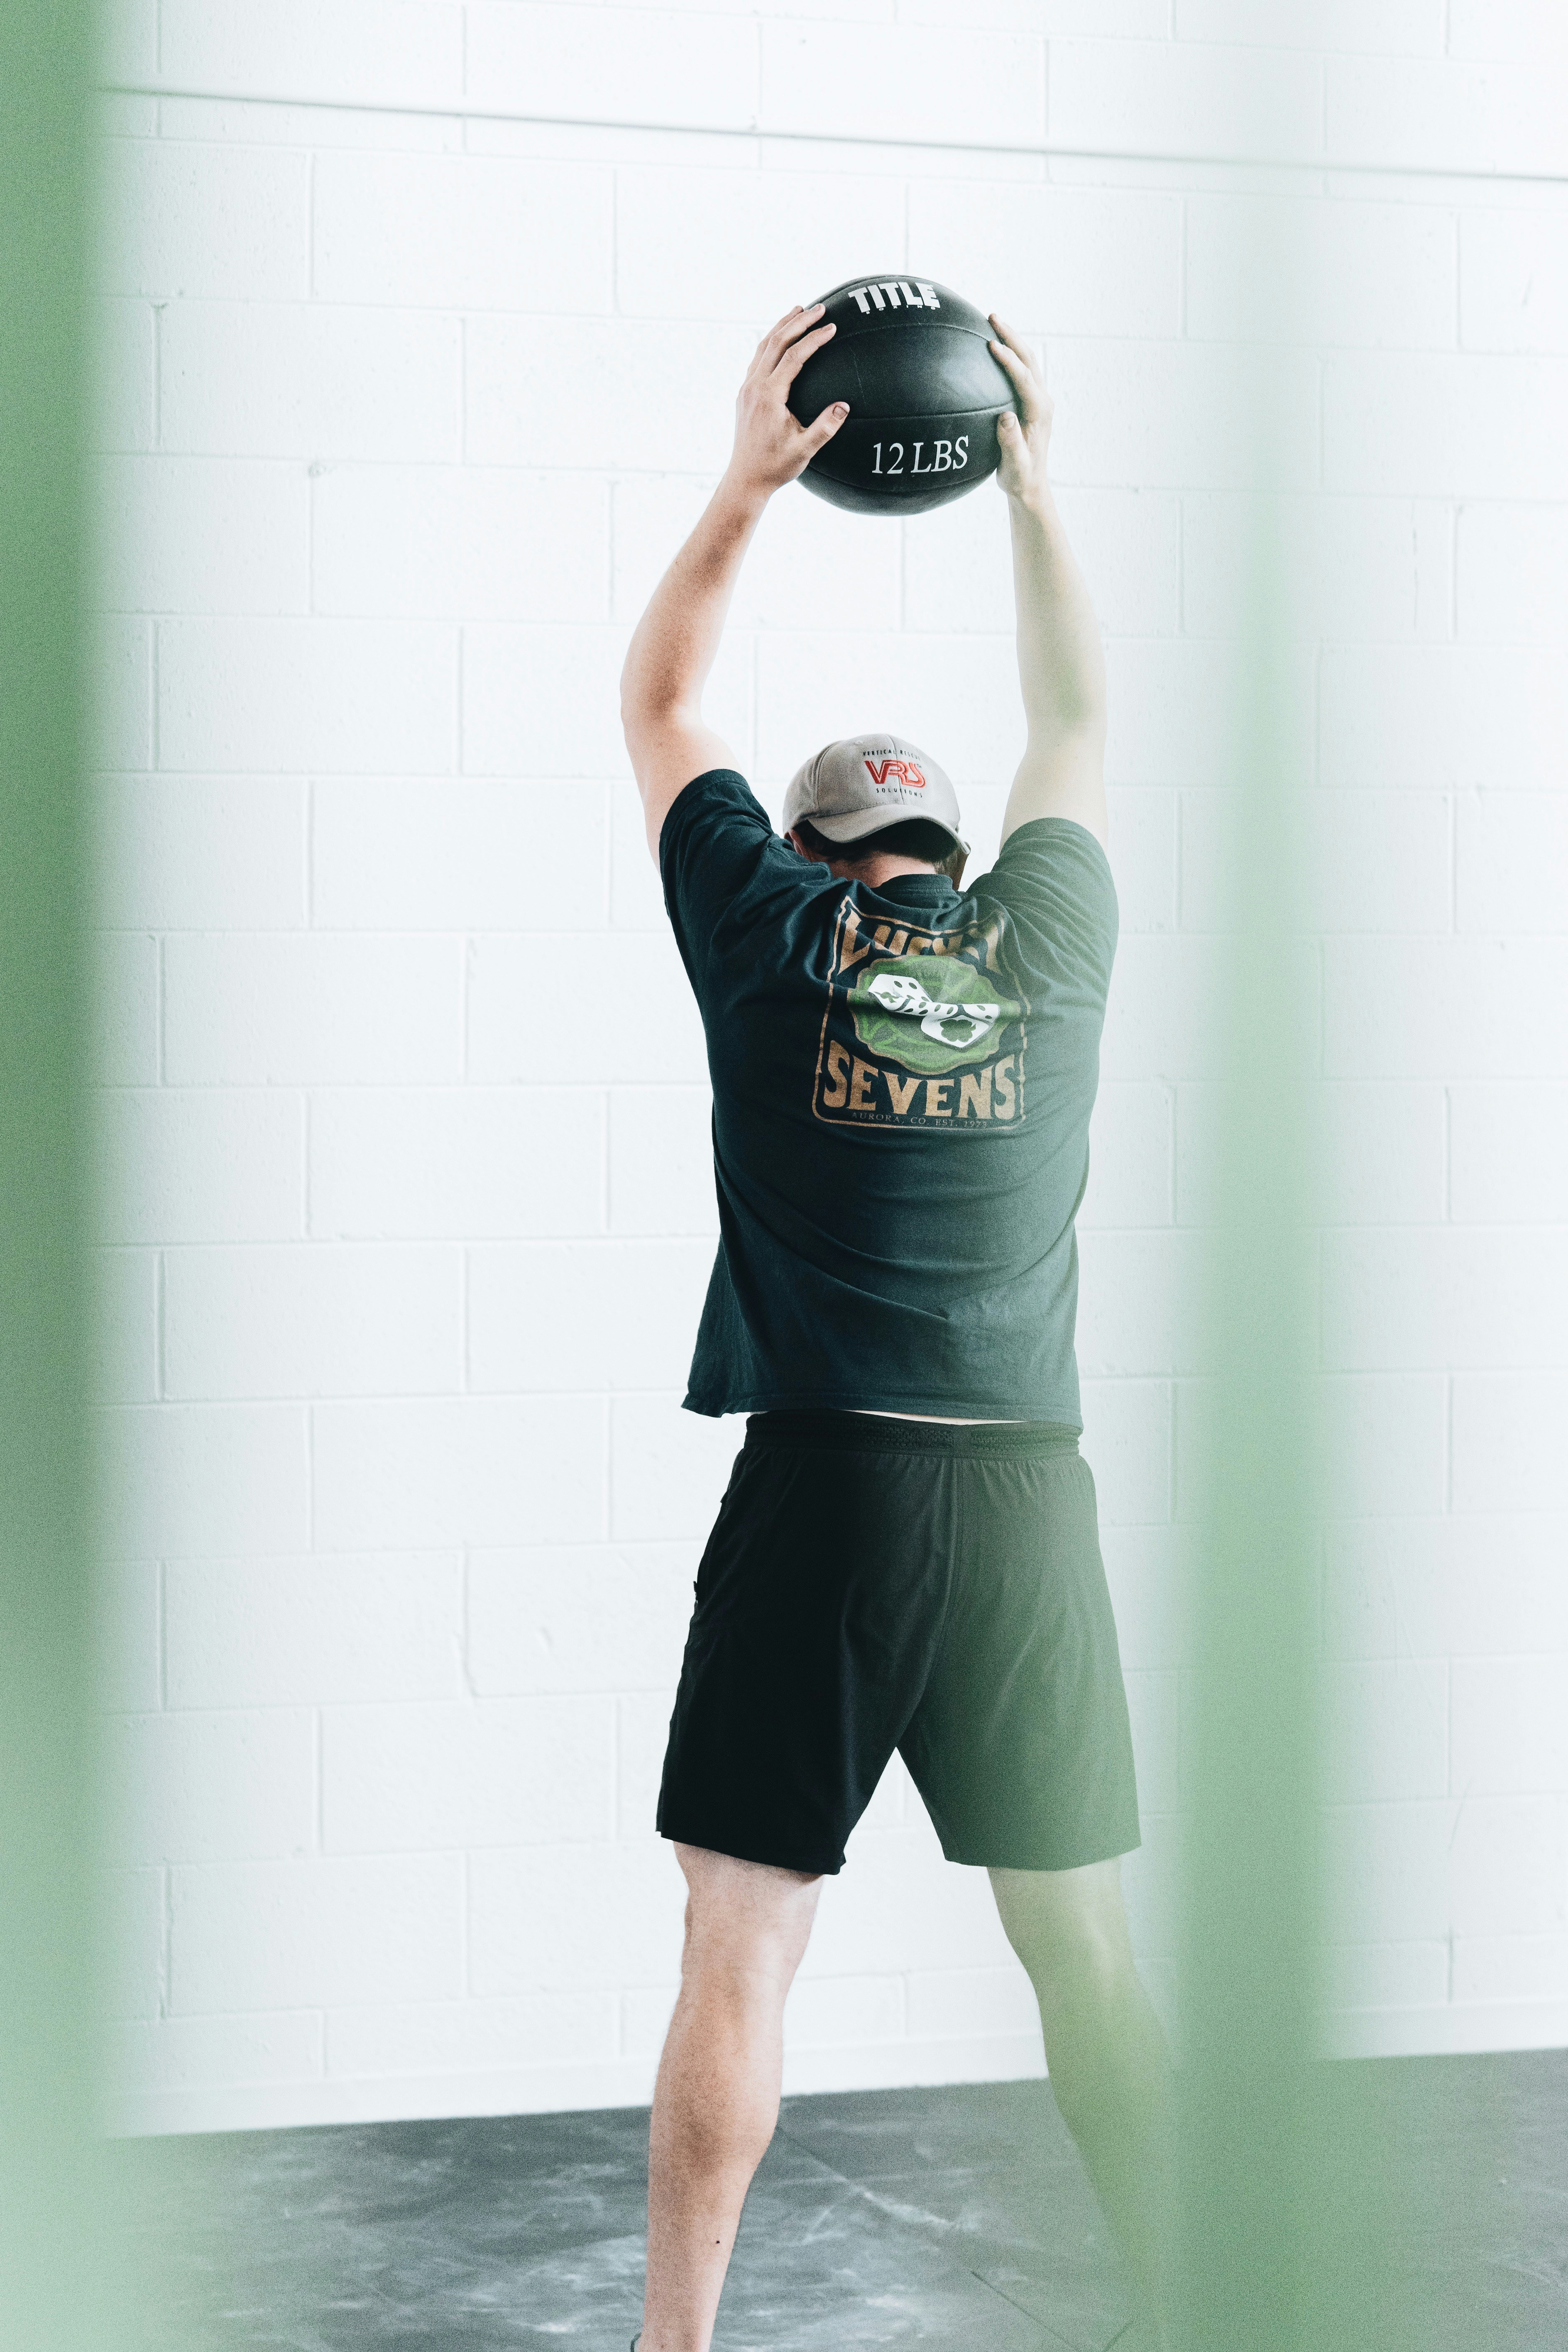
Dumbbells make squats, hinges, presses, rows, and carries intuitive because gravity provides a consistent direction. Bands are excellent for pulldowns, face pulls, lateral work, assisted mobility, and adding tension where a dumbbell is awkward. A hybrid kit often covers more than either tool alone.
For strength tracking, record the dumbbell weight or the band color, setup distance, grip position, and repetitions. Band labels are not perfectly comparable across brands, so keep the setup consistent. Replace any band with cracks, discoloration, or damaged stitching.
Choose by the friction you will tolerate
Bands occupy almost no space but require anchoring and setup. Dumbbells need a permanent low storage location but begin working immediately. The better choice is the one whose inconvenience you are willing to repeat several times each week.
A budget-first buyer can begin with bands and save toward adjustable dumbbells. A strength-first buyer can start with dumbbells and add one long band for pulling variety. Both paths are quieter and more apartment-friendly than collecting loose metal plates.
Apartment strength safety checklist
Check the training area before every session: clear trip hazards, confirm selectors or collars are secure, and make sure the floor surface is level. Keep loaded equipment away from windows, heaters, pets, and the path to the door. A compact setup concentrates equipment into a small zone, which makes deliberate placement more important.
Use controlled repetitions and stop a set before technique breaks down. The apartment-friendly version of progressive overload is patient: add repetitions, improve range, slow the lowering phase, and only then increase weight. This approach protects equipment and flooring while producing useful strength progress.
Warranty, delivery, and move-out planning
Heavy equipment is expensive to return. Confirm package weight, elevator access, stair turns, delivery policy, and the return window before ordering. Keep boxes and protective inserts until the equipment has been assembled, inspected, and used several times.
Read the warranty exclusions for drops, commercial use, outdoor storage, and unauthorized installation. Photograph serial numbers and save receipts. Finally, plan how the item leaves the apartment. Modular, foldable, or two-person-carry equipment is much easier to live with at the end of a lease.
Before you buy: measure the full routine
Product dimensions rarely describe the full space required to use, adjust, clean, and store an item. Mark the equipment footprint and the moving body around it with painter's tape. Open nearby doors, drawers, and closets, then practice the path used to retrieve and reset the equipment.
Include delivery dimensions, package weight, outlets, ventilation, ceiling fixtures, and the route out of the apartment. Compare the return policy and warranty before checkout. A careful measurement session is less exciting than new equipment, but it is the most reliable way to protect a small room and a limited budget.
Budget for the full cost of ownership
The checkout price is only part of the decision. Include a compatible mat, storage, delivery, assembly tools, replacement wear parts, and the possibility of moving the item later. A cheaper product that damages flooring or requires an early replacement is not the apartment-budget winner.
Compare warranty length, what the warranty excludes, and whether the company sells replacement parts. Save the receipt, serial number, and packaging through the return period. Test every adjustment while returns are still practical, not after the equipment has become part of the furniture.
Use a four-week reality check
For the first month, note how often the item is used, how long setup and reset take, and whether it creates noise or storage friction. Record any skipped sessions caused by the equipment itself. A product earns its footprint through repeated use, not through the ambition attached to the purchase.
At the end of four weeks, adjust the storage location, training schedule, or routine before buying anything else. Sell or return equipment that consistently blocks the room without improving training. A disciplined edit keeps a small home gym capable and livable.
Keep a simple maintenance log
Add a monthly reminder to inspect fasteners, adjustment points, upholstery, bands, cables, cradles, and floor protection. Clean moving surfaces according to the manual and investigate new rattles before they become damage. Maintenance is also a noise-control strategy because loose parts transmit vibration.
Write the inspection date in a note with the model number and warranty details. This takes only a few minutes, makes troubleshooting easier, and helps you decide whether the equipment is aging normally or needs service.