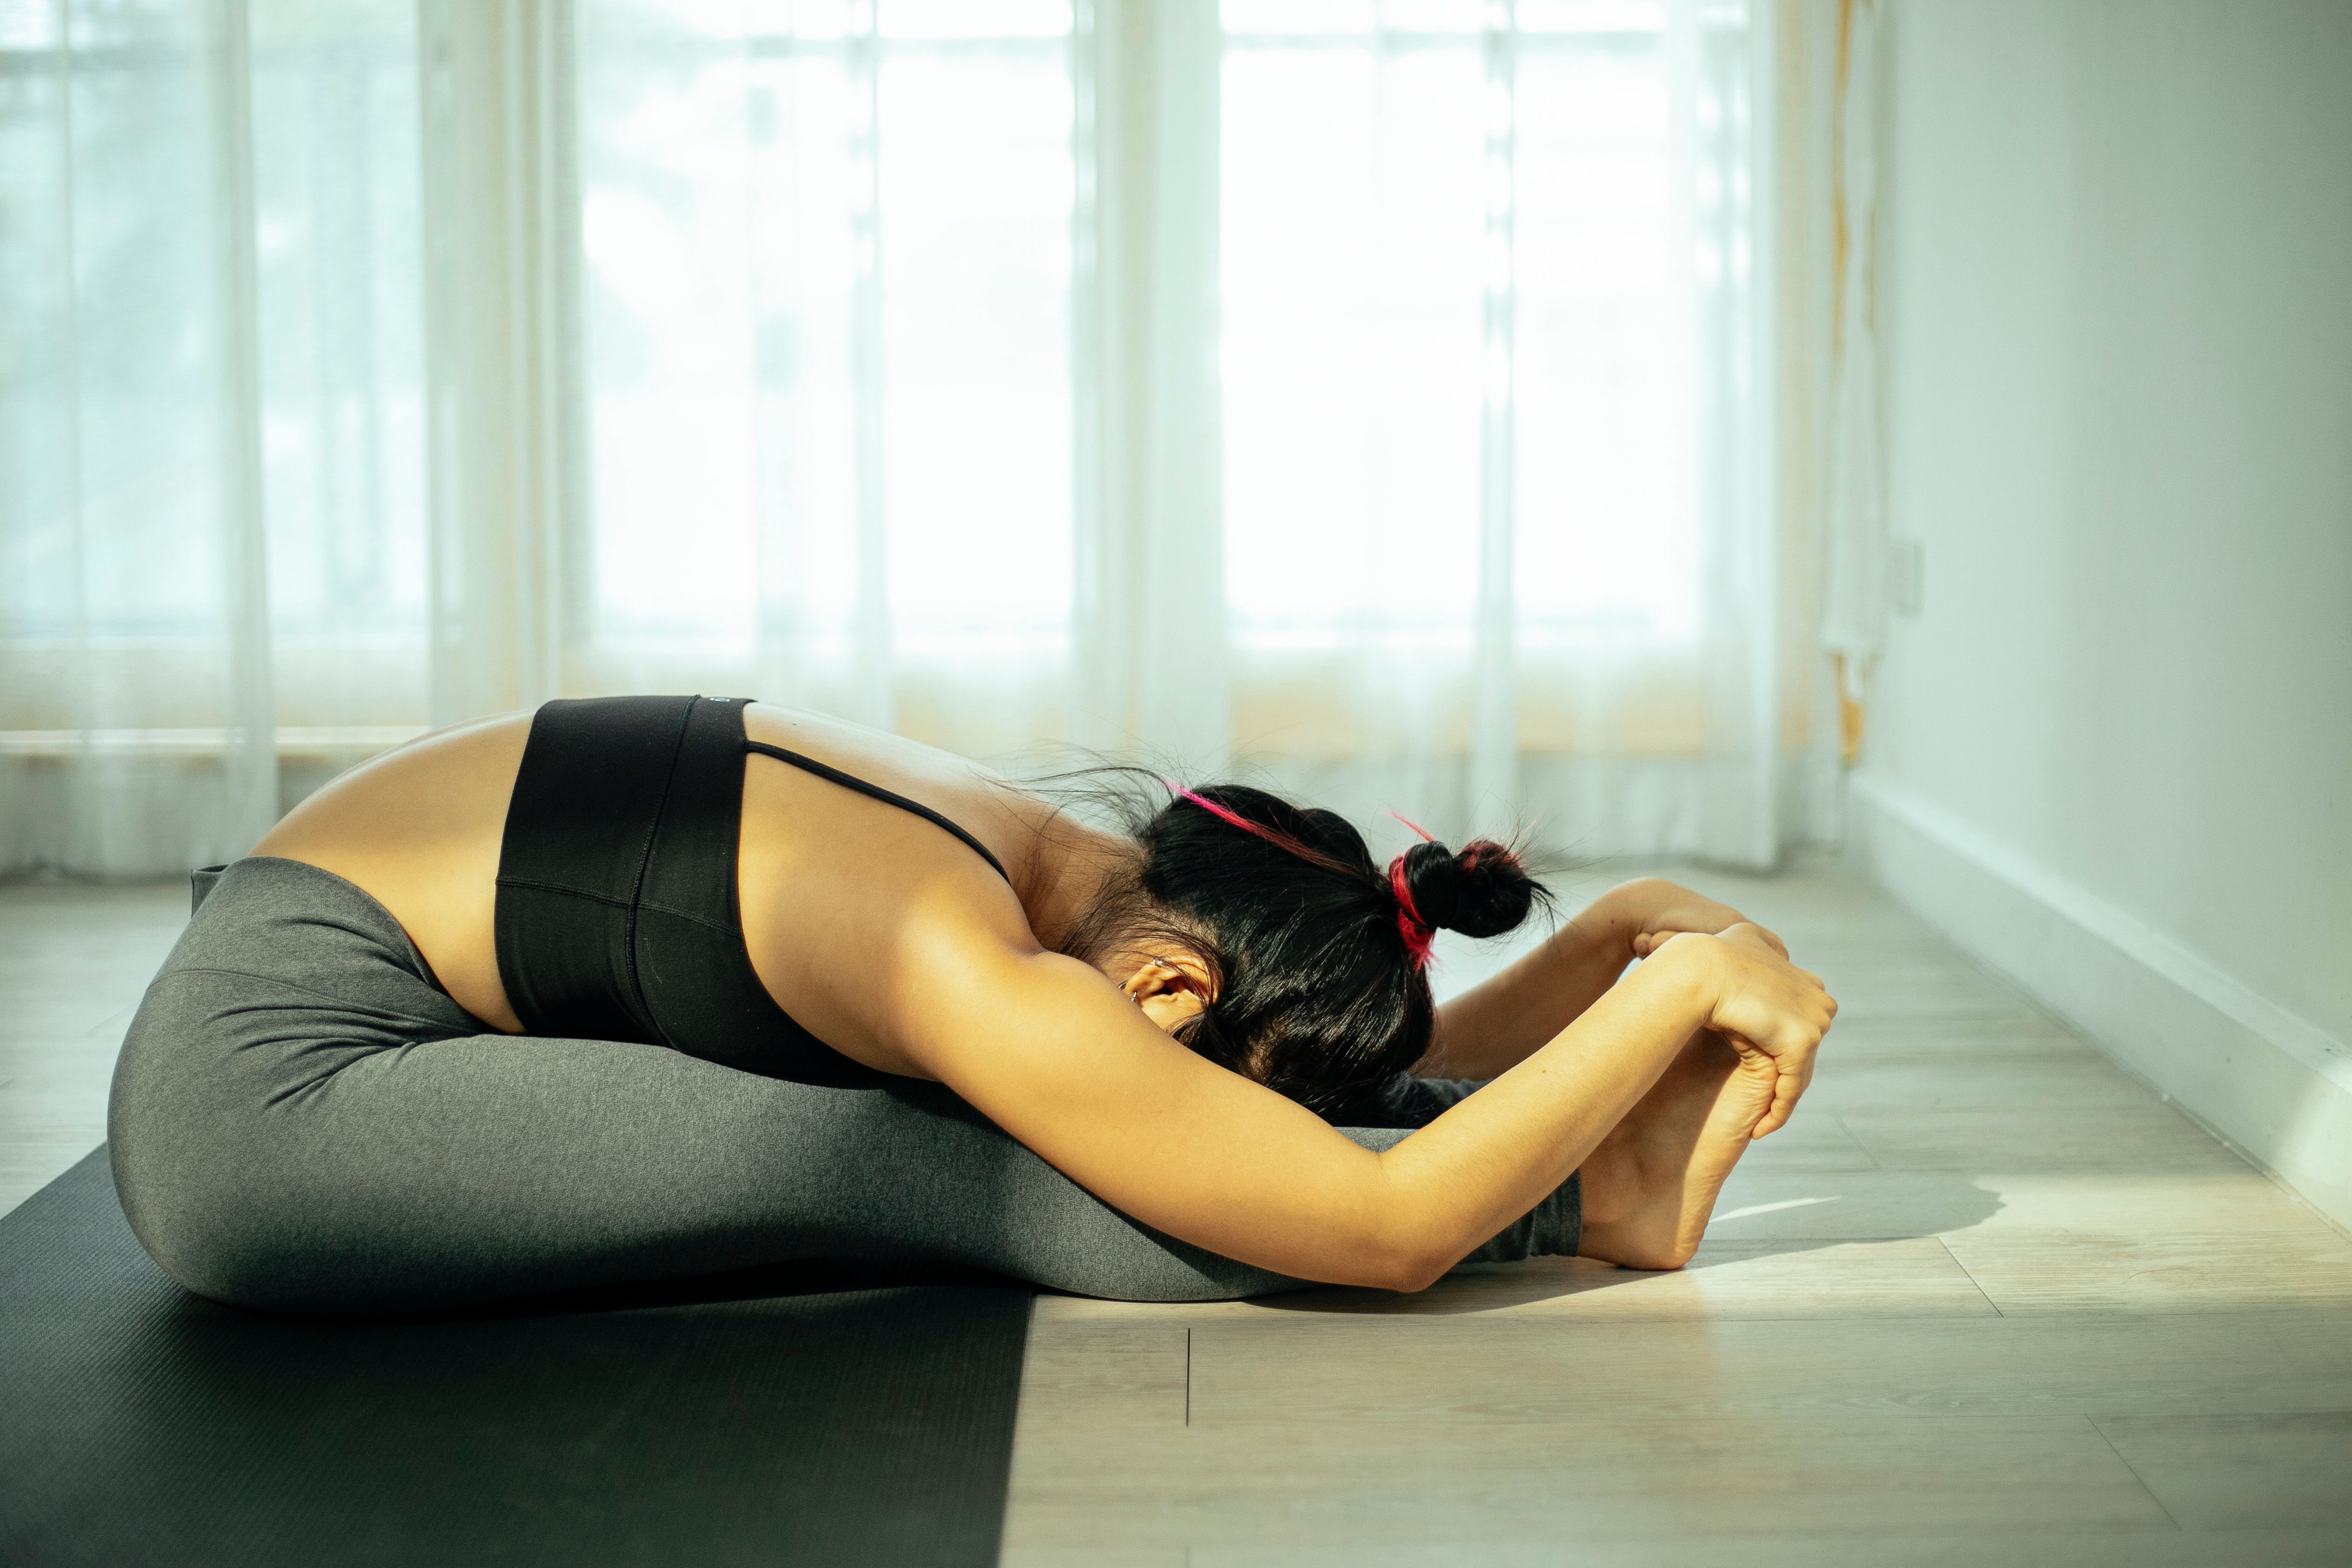
Recovery and mobility work gets lumped in with strength training when people think about "needing space," but the two have almost opposite space requirements. A kettlebell swing or a battle rope session needs real clearance and generates real impact. A hip-opener or a thoracic rotation needs about the same footprint as the yoga mat you're probably already lying on, and makes close to zero noise — which means it's one of the only categories of training in a small apartment where space and neighbors were never actually the limiting factor. The limiting factor is just not having a plan. This is a real 15-minute routine broken into four timed blocks, each one sized to work in roughly a 3-by-3-foot area — about the space next to a bed, or the gap between a couch and a coffee table. No equipment is required to do it; a short section at the end covers which single piece of gear is worth adding first if you want one, and which ones aren't worth the storage space yet.
Quick answer: what this routine actually needs
You need less space for this than you think, because mobility work doesn't travel the way strength training does — most of it happens lying down, seated, or braced against something stationary, not moving across a room. A patch roughly 3 feet by 3 feet (about one yoga mat) is enough for every block in this routine, and a wall, a door frame, or the edge of a couch or bed does the rest of the work a studio's equipment would otherwise be there for.
Fifteen minutes is also a deliberately small ask. The routine below is split into four timed blocks so you can do all of it, or just the block that matches what's actually tight that day — a short, specific session you'll actually finish beats a long one you keep putting off because it feels like too much to start.
- Floor space: about 3x3 ft — a patch beside a bed or between a couch and coffee table is enough
- A wall, door frame, or sturdy furniture edge nearby for a few of the blocks
- 15 minutes, or any one of the four blocks on its own if that's all you have
- No equipment required — a mat is a nice-to-have, not a requirement
Why recovery work is actually easier to fit in a small space than strength training
Strength and cardio equipment in an apartment all eventually run into the same two walls, literally and figuratively: clearance (a kettlebell swing or a battle rope stroke needs room to move through) and noise (impact and vibration that a downstairs neighbor notices). Mobility work runs into neither. A hip-flexor stretch, a thoracic rotation, or a breathing-focused cooldown is slow, controlled, and close to silent — there's a reason our apartment workout noise guide spends almost no time on this category at all compared to cardio and strength equipment.
That's genuinely good news for anyone who's been putting off recovery work because it felt like one more thing that needed its own dedicated setup. It doesn't. The routine below is built around that fact directly — every block fits in the same small footprint most apartments already have open, using furniture that's already there instead of gear that needs a home when you're not using it.
The routine: four blocks, 15 minutes, same small footprint the whole way through
Each block below is timed and self-contained — do all four back to back for the full 15 minutes, or pick whichever one matches what's actually tight that day. None of them require more room than you'd use lying on a mat.
Block A eases the ankles and hips open while you're still essentially lying down, which doubles as a gentle way to transition out of sitting all day without jumping straight into anything demanding. Block B works the thoracic spine and shoulders using a wall for resistance and feedback — something a studio would hand you a foam roller or a strap for, which a wall does just as well for this specific movement. Block C targets hip flexors and hamstrings, the two areas that tighten up fastest from a desk-and-commute lifestyle, using a chair seat or the edge of a bed as a prop instead of a bench. Block D is a short breathing and nervous-system downshift lying flat on your back, which is the one part of this routine that genuinely needs nothing at all, not even a wall.
- Block A (0–4 min): seated or lying ankle and hip opener sequence
- Block B (4–8 min): wall-supported thoracic spine and shoulder mobility
- Block C (8–12 min): hip flexor and hamstring release using a chair or bed edge as a prop
- Block D (12–15 min): lying flat, slow breathing to downshift before ending the session
Using furniture you already have instead of studio equipment
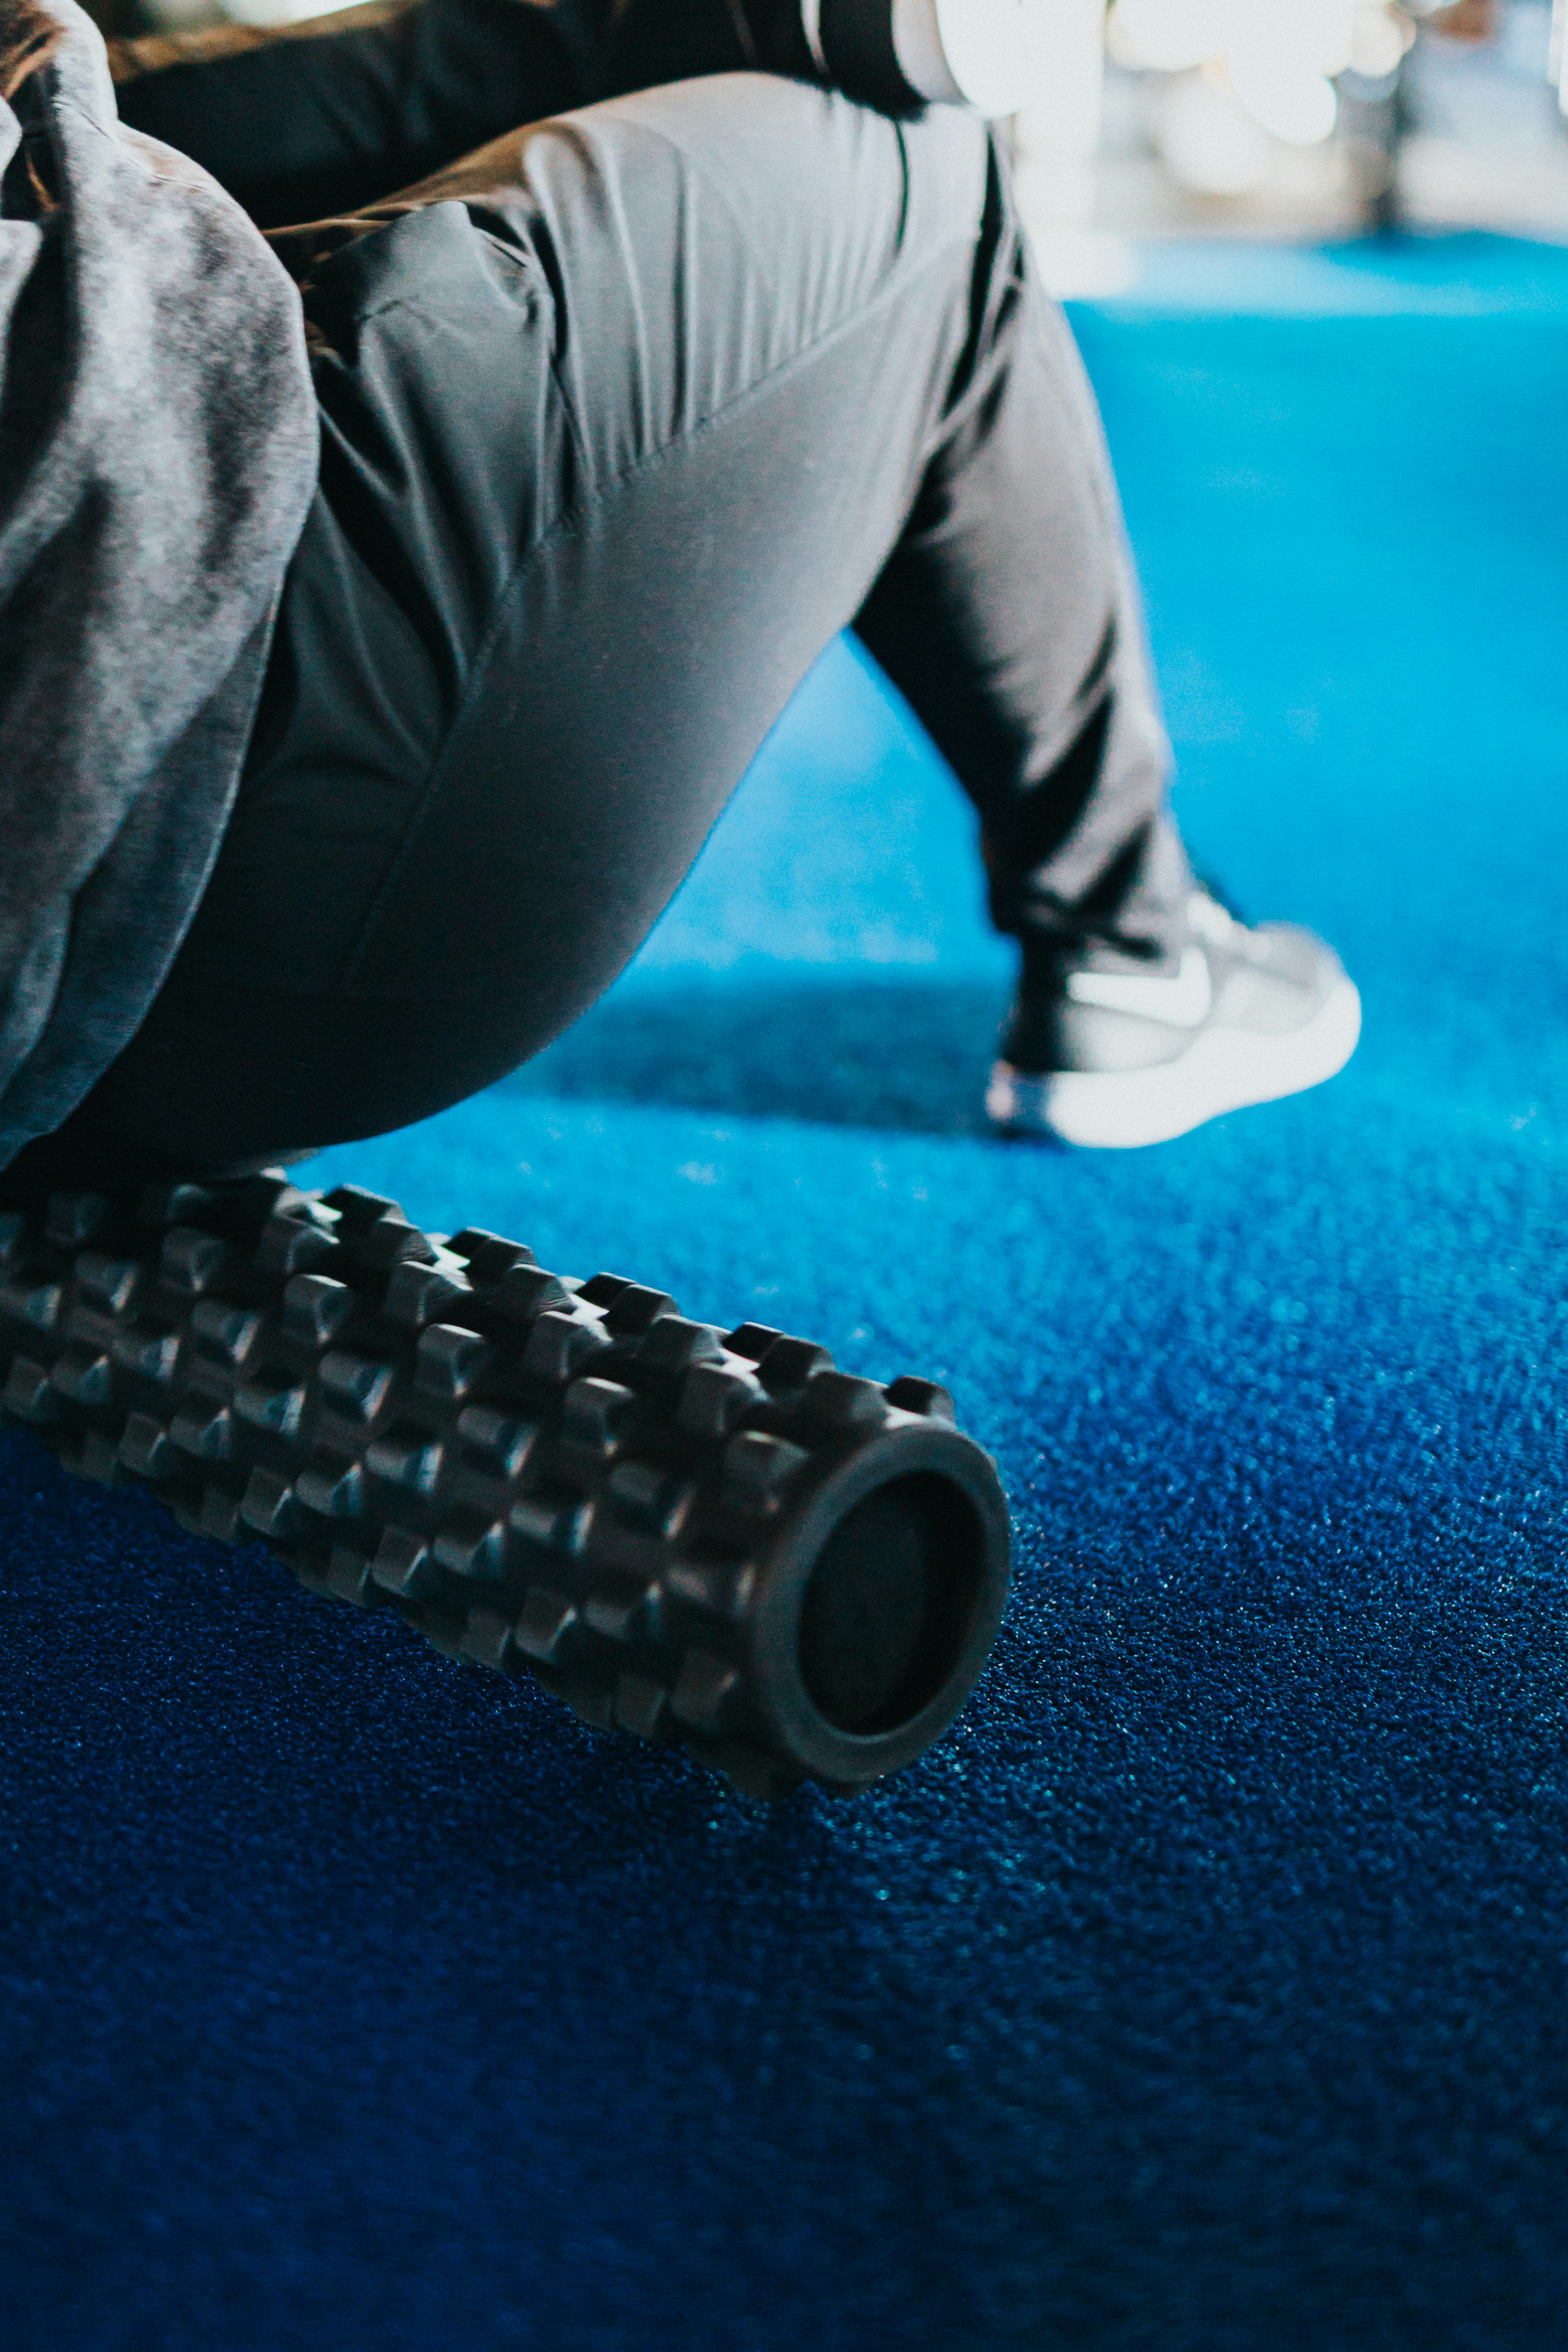
A flat wall behind you does most of what a foam roller or resistance band would do for thoracic and shoulder mobility — bracing your upper back against it and slowly rotating gives you the same kind of controlled resistance a trainer would otherwise hand you a prop for, and it's a substitution widely taught by physical therapists for exactly this reason, not an invented workaround. A door frame works the same way for a chest-opening stretch, using the frame itself as the anchor point your hands brace against.
A sturdy dining chair or the edge of your bed stands in for a bench during hip flexor and hamstring work — anywhere you'd normally prop one leg up to deepen a stretch, a chair seat at roughly the right height does the job. The one piece of advice worth taking seriously: use furniture that won't slide or tip under light pressure, not anything with wheels or a loose base. None of this requires buying anything; it's simply recognizing that a studio's props are solving the same two problems (an anchor point, and a raised surface) that your existing furniture already solves.
When it's actually worth adding equipment, and what to add first
Bodyweight-and-furniture is genuinely enough for most people most of the time — don't feel like this routine is incomplete without gear. The point where equipment starts earning its storage space is when you want more targeted pressure than your own bodyweight gives you, which is a different problem than needing more space.
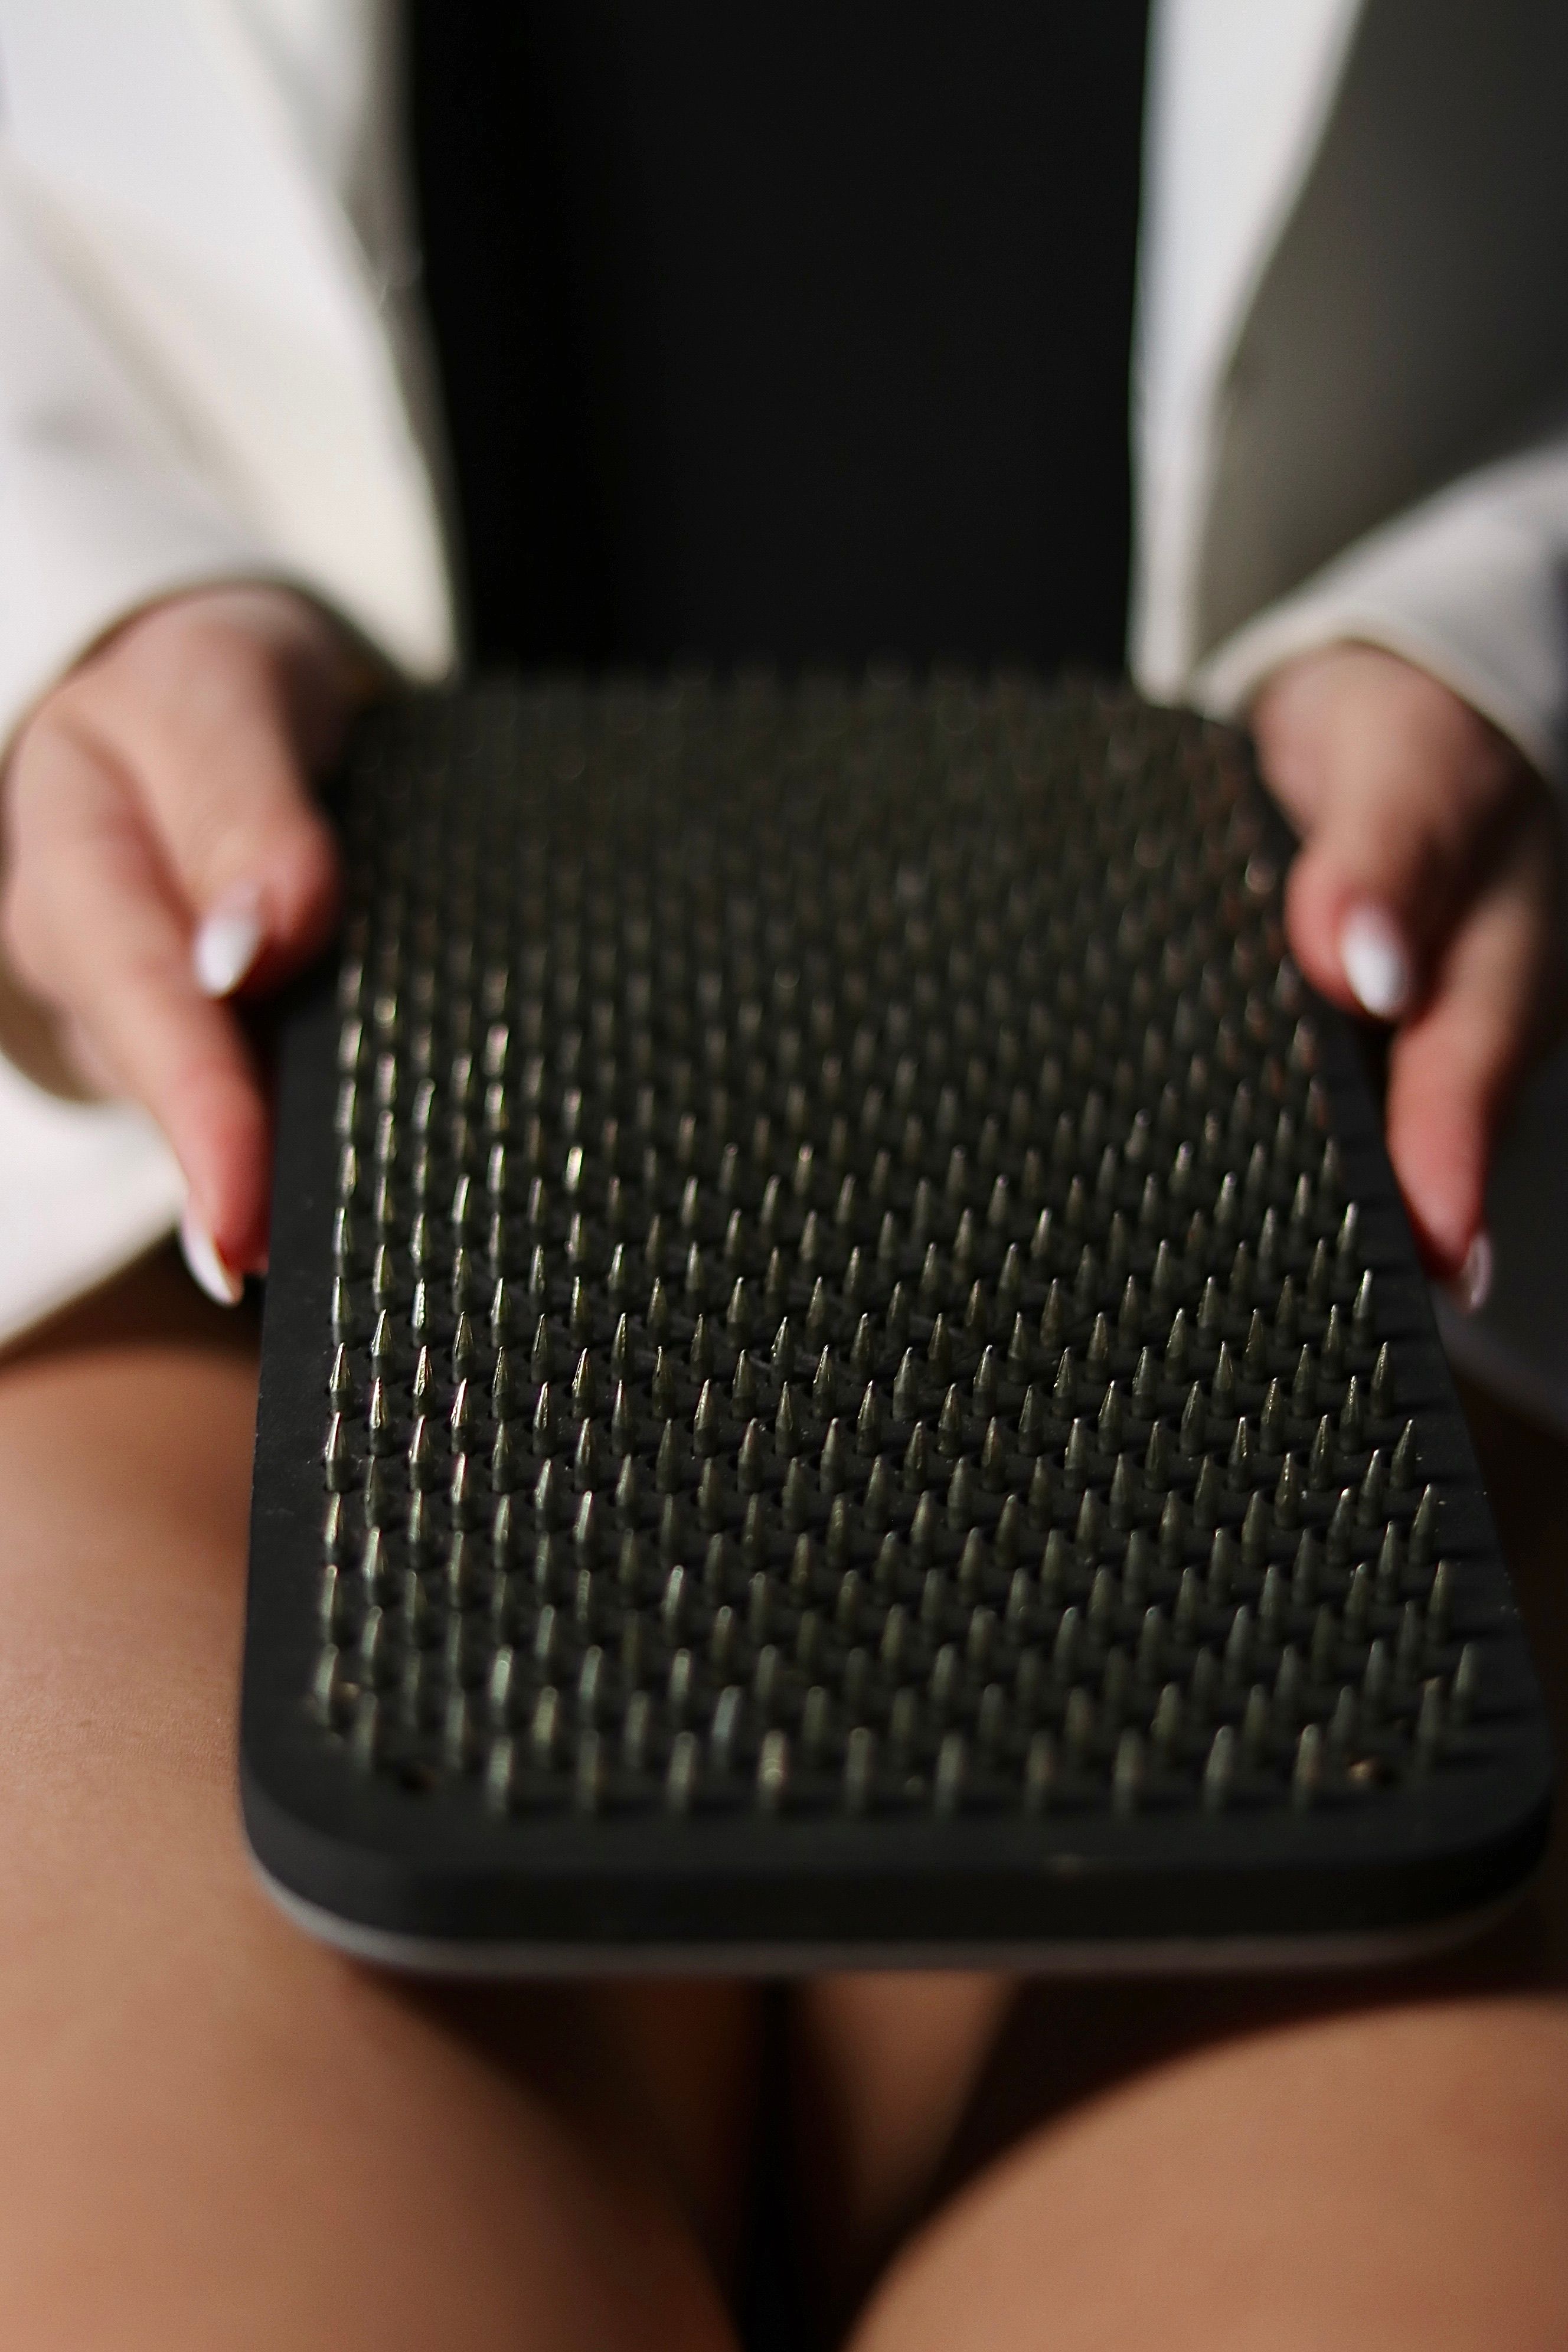
A simple mat is the first thing worth adding, mostly for comfort on a hard floor rather than necessity — our guide to yoga and exercise mats for small apartments covers which thicknesses actually work for floor-based mobility work specifically, since a mat built for standing poses isn't always the right pick for lying-down work. After that, a firm acupressure mat is worth considering if you want more targeted pressure during Block A or D — see our acupressure mat picks for what that actually feels like before buying one, since it's a product people tend to either love or immediately return.
If your tightness is specifically muscular rather than joint-related — a stiff calf or a tight upper back rather than a hip that doesn't open — a compact massage gun will do more for you than a mat will. Our compact massage gun guide covers sizing for exactly this kind of occasional, small-apartment use rather than daily clinical use. And if you want to build this into a longer, more structured practice rather than a quick daily reset, our guide to yoga and Pilates space requirements in an apartment is the natural next step.
Best Exercise Mats for Small Apartments
Best Acupressure Mat for Apartment Recovery